Tuesday, December 13, 2022

Always Smiling / Paige Evans DT

Hey friends! I'm here with a new layout for the Paige Evans Design Team featuring lots of the Washi Tape from Paige’s Garden Shoppe collection. I wanted to come up with a design to showcase six small photos, so I decided on various sized circles. This is a great way to use lots of the rolls of Washi Tap. I applied the Washi Tap to white cardstock and then used a few different sized circle punches to create the shapes. Very easy! Once I had them arranged, I worked on the background. I used thick smooth white cardstock for the base and I coated it with clear gesso first. I used matching colors of Shimmerz sprays to create a watercolor effect behind the circles.
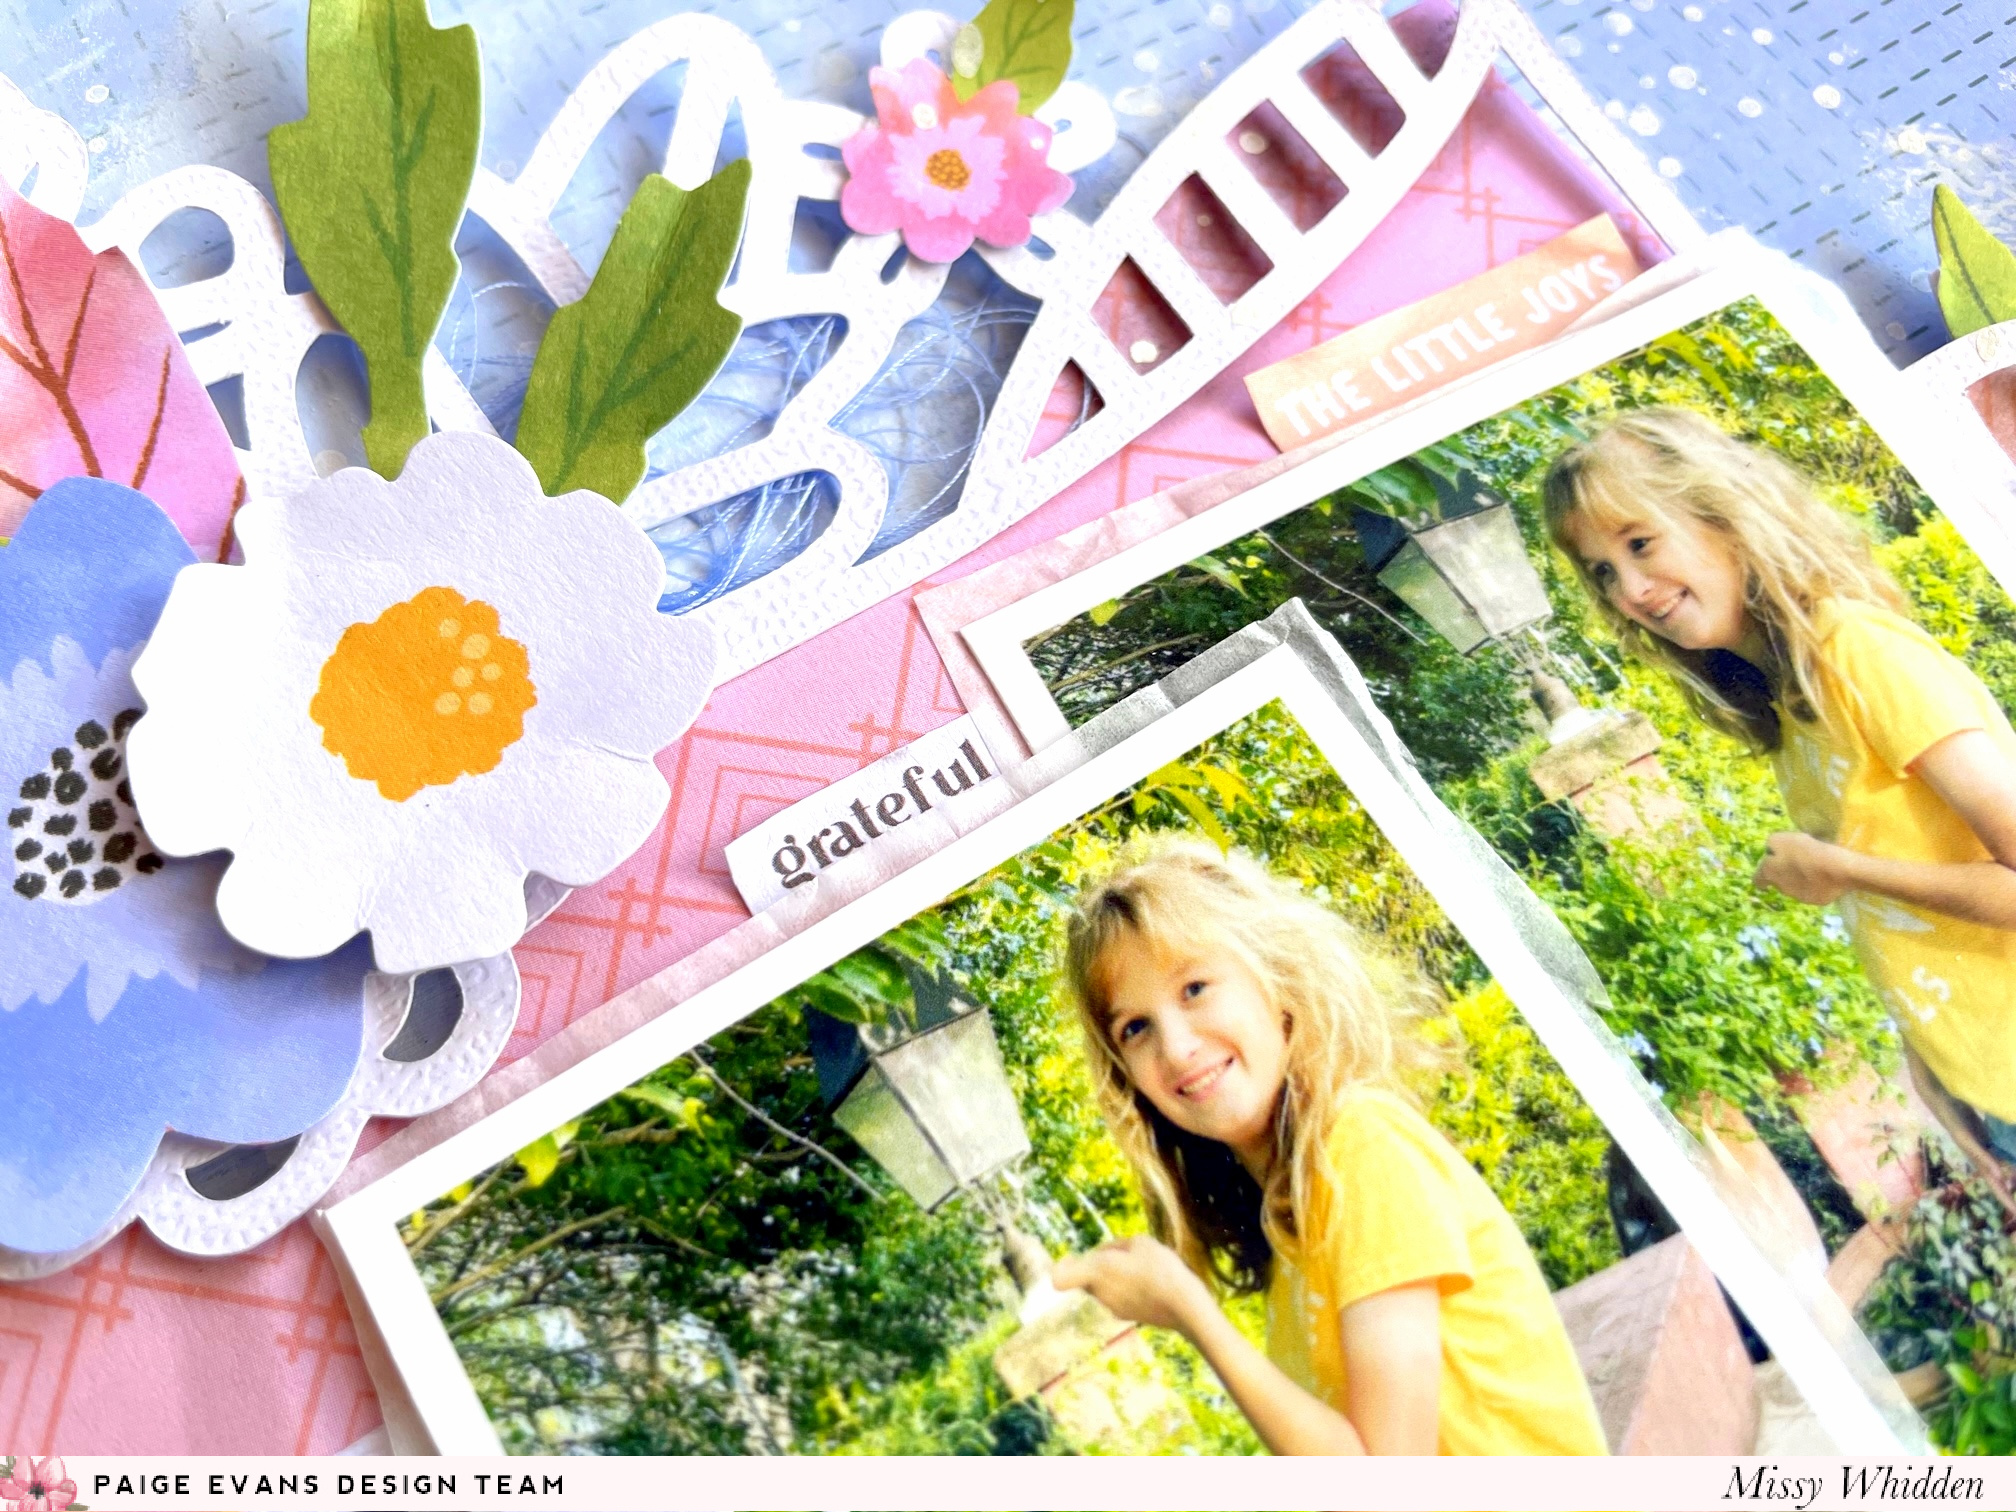
I added adhesive foam behind all of the circles to pop them off the page. I also bent up the edges to create even more dimension. For the smallest circles I used some of the cute shapes from the Enamel Button Stickers. I also went small with the title: I cut a few phrases from Paper 23 and I cut the main title from Paper 13. The “beautiful” sticker is from the 8-Page Sticker Book and it is a shiny copper. One of my favorite things about this collection is the amount of title options. Titles don’t always have to be large or the focal point and these smaller bits are perfect for that. I also tucked in a bit of green thread here to add a pop of color and texture.  
I created my photo strips by adding tissue paper behind them and then attaching them to patterned papers. I used Paper 18 and Paper 24 and I distressed the edges. I added some of those phrases to the photos as well as stickers from the Cardstock Stickers and the 8-Page Sticker Book.
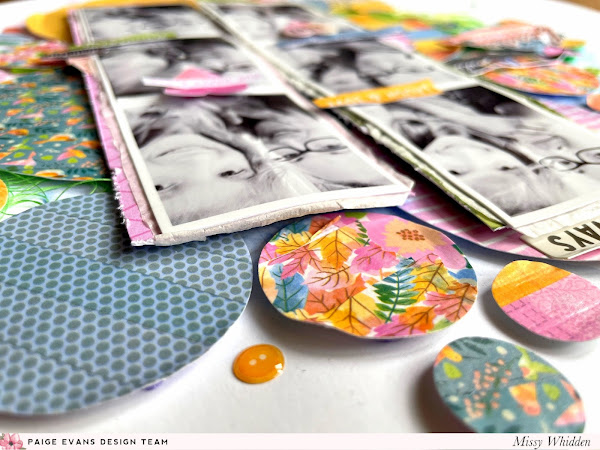
I say this a lot, but adhesive foam is a game changer.  Just popping these circles up off the page slightly makes such a big difference.  I love the shadows it creates.
These fun Button Stickers are the cutest!  They were perfect for this page.  
The design of this layout was really easy to create and the layers of dimension really help give it that extra complexity. You could create circles from patterned papers and get the same effect. I think the Washi Tape coordinate so well together so I chose to use most of them. I love how it turned out!
You could create this same idea with patterned paper if you don't have the washi tape.  It's a great way to get lots of color and patterns on the page.  I used black and white photos since there was so much color was going on.
Mixing and matching the titles is easy with this collection.  There are so many word and phrase pieces.  I've been loving the smaller titles lately.
Here are more detailed shots :)

I hope this gives you some ideas to try on your next page!  I love how this came together with the fun washi tapes.  Be sure to check out my process video for all the details.


Thanks so much!  Have a wonderful day!

Tuesday, November 8, 2022

Absolutely the Best / Paige Evans DT

Hey there, friends!  I'm back today with a new layout for the Paige Evans Design Team.  This page features one of Paige's new cut files from her 20 Days of Autumn Cut Files.

I started this by cutting the Banner from white cardstock. I sorted through all of the Garden Shoppe patterned papers and chose Paper 22 for the background. My photos have a lot of green and yellow, so the pretty periwinkle color was perfect. I also wanted to add in some pops of pink so I used Paper 11 to back the cut file. I lightly glued the paper behind it but left a lot of it loose so I could curl up the edges of the banner. 

I decided not to add any extra color to the background. I smudged a lot of white gesso down behind and around the banner - this softens up the blue and creates a cloudy hazy effect which makes the banner and photos stand out a little more. I popped the banner up with adhesive foam and embellished with lots of daisies and leaves. I used three large flowers and leaves from the Floral Die Cuts as well as Layered Stickers and flowers fussy cut from Paper 6. I also layered in a few of the periwinkle flowers and I fussy cut a few small pink flowers from the 6x8 Paper Pad. Flowers and leaves are wonderful for creating depth because they curl up off the page nicely. 
I love letting things pop of the page like this.  All you need is a bit of glue.  Don't feel like you have to glue the entire thing together.  This effect makes a big statement in a subtle way.
I also tucked in blue and yellow thread in a few places for added texture and interest. This  Banner makes it easy to place your photos - I easily used two right in the center area. You could even fit more above and below. I repeated the flower layering on all three areas, popping up a lot of them with adhesive foam.   

The white splatters were made with white acrylic paint - it always shows up so well on paper like this. 

The trick to getting the white cloudy effect is working fast with the white gesso.  As soon as it hits the paper, start scraping and smudging.  Use your fingers!  I didn't want streaks or brush strokes, so fast smudging was the way to go.
I also used a phrase I fussy cut from Paper 23 to use for a small title. I also used a smaller title sticker from the 8-Page Sticker Book. I love that there are many options for smaller titles in this collection. Sometimes you don’t need a big title and these small phrases are perfect. 
I took a ton of close-ups, so here are more detailed images :)


I really love how this turned out and I hope it gives you some ideas to try with the Garden Shoppe collection and Banner Cut File! Thank you so much for stopping by, and have a great day!

Here is my process video:


Thursday, October 20, 2022

So Happy / Paige Evans DT

Hey friends!  I'm here with a new layout for the Paige Evans Design Team featuring Paige’s beautiful Garden Shoppe collection. I wanted to use some of the patterned papers so I chose Paper 5Paper 19, and Paper 21. I tore big chunks and layered them together to get my background started. I machine stitched over them on a sheet of thick white cardstock and then smudged a lot of white gesso to create a soft, hazy, and weathered effect. I splattered white acrylic paint and applied gesso to the cardstock around the edges of the papers. I used green and yellow Shimmerz to create a watercolor effect in a few areas and also used pink, blue, and gold to add splatters. I went wild with daisies on this page and fussy cut several from Paper 7 and the 6x8 Paper Pad.
 
The daisies bring out the yellow in the chevron paper and I scattered them around the page and around the photo. I popped a lot of them up with adhesive foam to create depth. I used a Foam Phrase Sticker for the title and then used Cardstock Stickers as well as a few sentiment pieces that I cut from the 6x8 Paper Pad. Those are perfect for small details. I used yellow thread here to give a bit of texture and you can also see the machine stitching. I used a small journaling sticker from the 8-Page Sticker Book for my journaling.
I've been calling these daisies, but they might be sunflowers?  LOL I need to brush up on my flower names :D  I just love these torn edges and all the mixed media.  It's so much fun to get messy and create lots of texture.
I used a few papers from the 6x8 Paper Pad to layer behind the photo as well as some white tissue paper. This Foam Phrase Sticker has beautiful copper foiling and I used white gesso to make it a little more matte. I did the same with the small heart. Gesso works great for toning down colors or shiny bits!
I love how this yellow paint is pretty subtle (for me LOL).  I like showing that you CAN do mixed media in a small, controlled fashion.  It doesn't have to cover the whole page and cover every inch of the background.  I think it's good to leave some plain white space.  It gives the eye a place to rest against all the color everywhere else.
More layers here with papers, stickers, stitching and threads.

It was really simple to curl up the edges of the papers and make it look textured. Here you can see how I layered the flowers on and under the photo. This is easy to do if you leave some unglued areas around the edges of the paper layers. The flowers and leaves easily slide in and it instantly creates that fun shadow effect and makes things just pop off the page. In the upper right area I used an Ephemera Die Cut and more daisy flowers to make a small cluster.
ii
ii
ii

I hope this inspires you in some way today.  I discuss this process in my video and talk about what I do when I struggle to come up with a design idea.  They don't always come easy, and sometimes you just have to dig in and start moving things around until an idea pops into your head!

Here's my process video.  Thanks for watching, and have a great day!


Tuesday, October 4, 2022

Happiness Here / Paige Evans DT

Hey friends! I'm here today with a new layout for the Paige Evans Design Team featuring Paige’s gorgeous Garden Shoppe collection. It's my first page using this line, and it's incredible!  There are so many beautiful papers to choose from and I chose Paper 3 to use as my background. Those rainbow polka dots are just stunning! I chose a close-up photo of my daughter and used a large circle punch to match the background shapes. I came in with white  and faded out the pattern around the photo. Once that dried, I used matching colors of Shimmerz Paints to create a watercolor effect. I also added splatters using all the colors as well as splatters with white acrylic paint. Fading out busy patterns around the photo enhances the photo and helps to separate it from everything else going on around it.


I used several flowers from the Floral Die Cuts as well as a few that I fussy cut from the 6x8 Paper Pad. I added those in the matching color areas. I used various leaves from the 8-Page Sticker Book and Foam Phrase Stickers here. There are lots of different styles of leaves in this collection and the colors are just beautiful. Behind the photo I layered a few papers from the 6x8 Paper Pad as well as adhesive foam. I tucked in coordinating threads for added texture.
 
I repeated that same idea here at the bottom with blue flowers, leaves, and thread. I created a title cluster on the bottom area here using a Foam Phrase Sticker and a few phrases I fussy cut from Paper 23. This paper is filled with title possibilities! I added a few fussy cut flowers and then wrote a bit of journaling on a little label sticker from the 8-Page Sticker Book.
I just love what gesso can do.  It's perfect for softening up colors & patterns.  It creates wonderful "haze."  It creates a white space for paints or sprays.  It helps the photo to stand out.  It makes awesome texture.  So many benefits!  I love how this layered area turned out.  So much fun shadowing and depth.
Do you like to bend the edges of paper up?  I love doing that with flowers, leaves and butterflies.  But it also works great for little title pieces like this.  Just crinkling up the edges can give such a fun effect.  I kept my journaling pretty small on this page--I just didn't want to write it directly on the background.
More detailed images here :)

I love the small copper detailing on many of the stickers in the collection.  It looks so cool in the light!


Here is the pink area. Once again, I created a cluster using flowers, leaves, and thread. Some of the leaves I used are from the Cardstock Stickers. Layering is such an awesome technique - it creates such wonderful dimension and instantly just makes the page come to life. Here you can also see the differences in the types of stickers. The clear stickers from the 8-Page Sticker Book are see through so some of these I stuck directly to the background and others I stuck to white cardstock first and then cut them out - it just depends on how they look when they have another color behind them.


I hope you are inspired in some way today! Garden Shoppe is so colorful and pretty and even though it has a lot of fall elements included, there are even more everyday bits and pieces that will work for any type of layout you’re in the mood for. I can’t wait to see what you all make with this! 


Here is my process video:


Have a wonderful day and thanks for stopping by!